

How to Make a Saddle Pad Rack at Home for Horse Gear?
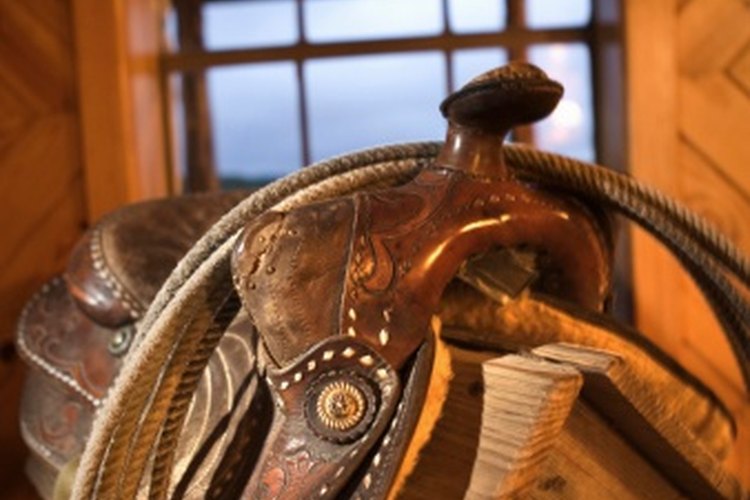
For dedicated horse owners, maintaining the health and well-being of their beloved companions is paramount. One crucial aspect of horse care involves storing gear properly, especially saddle pads. In this article, we will delve into how to make a saddle pad rack that is not only functional but also a stylish addition to your barn or home. A well-made saddle pad rack can enhance organization, keep your saddle pads in good condition, and ultimately contribute to the overall health of your horse.
Understanding the importance of a saddle pad rack is essential. Proper storage of saddle pads can prevent unwanted wear and tear, mold, and musty odors, ensuring your horse's skin stays healthy. Lets walk through the process of crafting your own saddle pad rack and discuss various designs that cater to the needs of health-conscious pet owners.

Why You Need a Saddle Pad Rack
A saddle pad rack offers numerous benefits. It provides a designated space for saddle pads, preventing them from becoming wrinkled or damaged when not in use. Proper ventilation is vital in keeping your saddle pads dry and odor-free, making a rack an essential component of your horse care routine. Additionally, an organized space reduces the chances of losing equipment or mixing saddle pads with other items, streamlining your daily routines.
Materials Needed for Your Saddle Pad Rack
Before venturing into the crafting process, gather the necessary materials. Heres what you will typically need:
- Wood (Plywood or cedar for durability)
- Wood screws
- Sandpaper
- Wood stain or paint (optional)
- Drill
- Saw
- Measuring tape
When choosing wood, consider using pressure-treated material, especially if your rack will be exposed to outdoor elements. This ensures longevity and durability.
Step-by-Step Guide to Creating Your Saddle Pad Rack
Step 1: Measuring and Cutting the Wood
Start by determining the dimensions you want for your rack. A common size is about four feet long, with hooks placed 12 inches apart. Using a measuring tape, mark your plywood accordingly, then carefully cut using a saw.
Step 2: Sanding for a Smooth Finish
After the wood is cut to size, sand down any rough edges. This step is crucial, as it prevents splinters and makes for a tidy appearance. A smooth finish will also extend the life of your rack and protect your saddle pads.
Step 3: Staining or Painting (Optional)
If you choose to enhance the appearance of your rack, now is the time to apply wood stain or paint. Ensure that any finish is safe for indoor use and won't emit harmful fumes that could affect your horses health.
Step 4: Attaching Hooks
Once the finishing touches have dried, its time to attach hooks. Choose quality hooks suitable for the weight of your saddle pads. Attach them evenly spaced along the wood to create a balanced look.
Step 5: Mounting Your Rack
Finally, mount your rack securely to the wall or any desired location. Ensure its sturdy and that the screws are firmly in place, as this will bear the weight of your saddle pads.

Creative Designs for Your Saddle Pad Rack
While the basic design we discussed is functional, lets think outside the box! Here are some creative variations of saddle pad racks:
Wall-Mounted Saddle Pad Racks
This design saves space and is perfect for barns with limited area. Attach hooks directly to a sturdy wall with high-quality anchors.
How to Build a Wall-Mounted Saddle Rack3-Tier Saddle Pad Racks
Consider building a multi-layer rack that allows for more storage. This design can accommodate various saddle pads while keeping them organized.
3-Tier Saddle RackFreestanding Saddle Pad Racks
A portable option allows you to move your rack as needed. Use a sturdy base and create a wooden frame to hold your saddle pads.
Maintenance Tips for Your Saddle Pad Rack
To ensure your saddle pad rack remains in excellent condition, consider the following maintenance tips:
- Regularly check for loose screws and tighten them as necessary.
- Keep the area around the rack clean and dry to avoid moisture build-up.
- Inspect saddle pads for damages periodically.
Conclusion
Creating a saddle pad rack is not only a practical project but also a way to contribute to your horse's health. By following these steps on how to make a saddle pad rack, you can enhance the organization within your barn or home while safeguarding your saddle pads from damage.
FAQs
1. Can I use recycled materials for the saddle pad rack?
Absolutely! Recycled wood can work well, but ensure its sturdy and clean to provide the support your saddle pads need.
2. How do I know what size rack I need?
The size depends on the number of saddle pads you own. Analyze your collection and consider future purchases when designing your rack.
3. How can I maintain my saddle pads to prolong their life?
Store them in a dry area and clean them regularly. Consider using a proper saddle pad cleaning solution to remove dirt and sweat.
As an Amazon Associate, I earn from qualifying purchases.