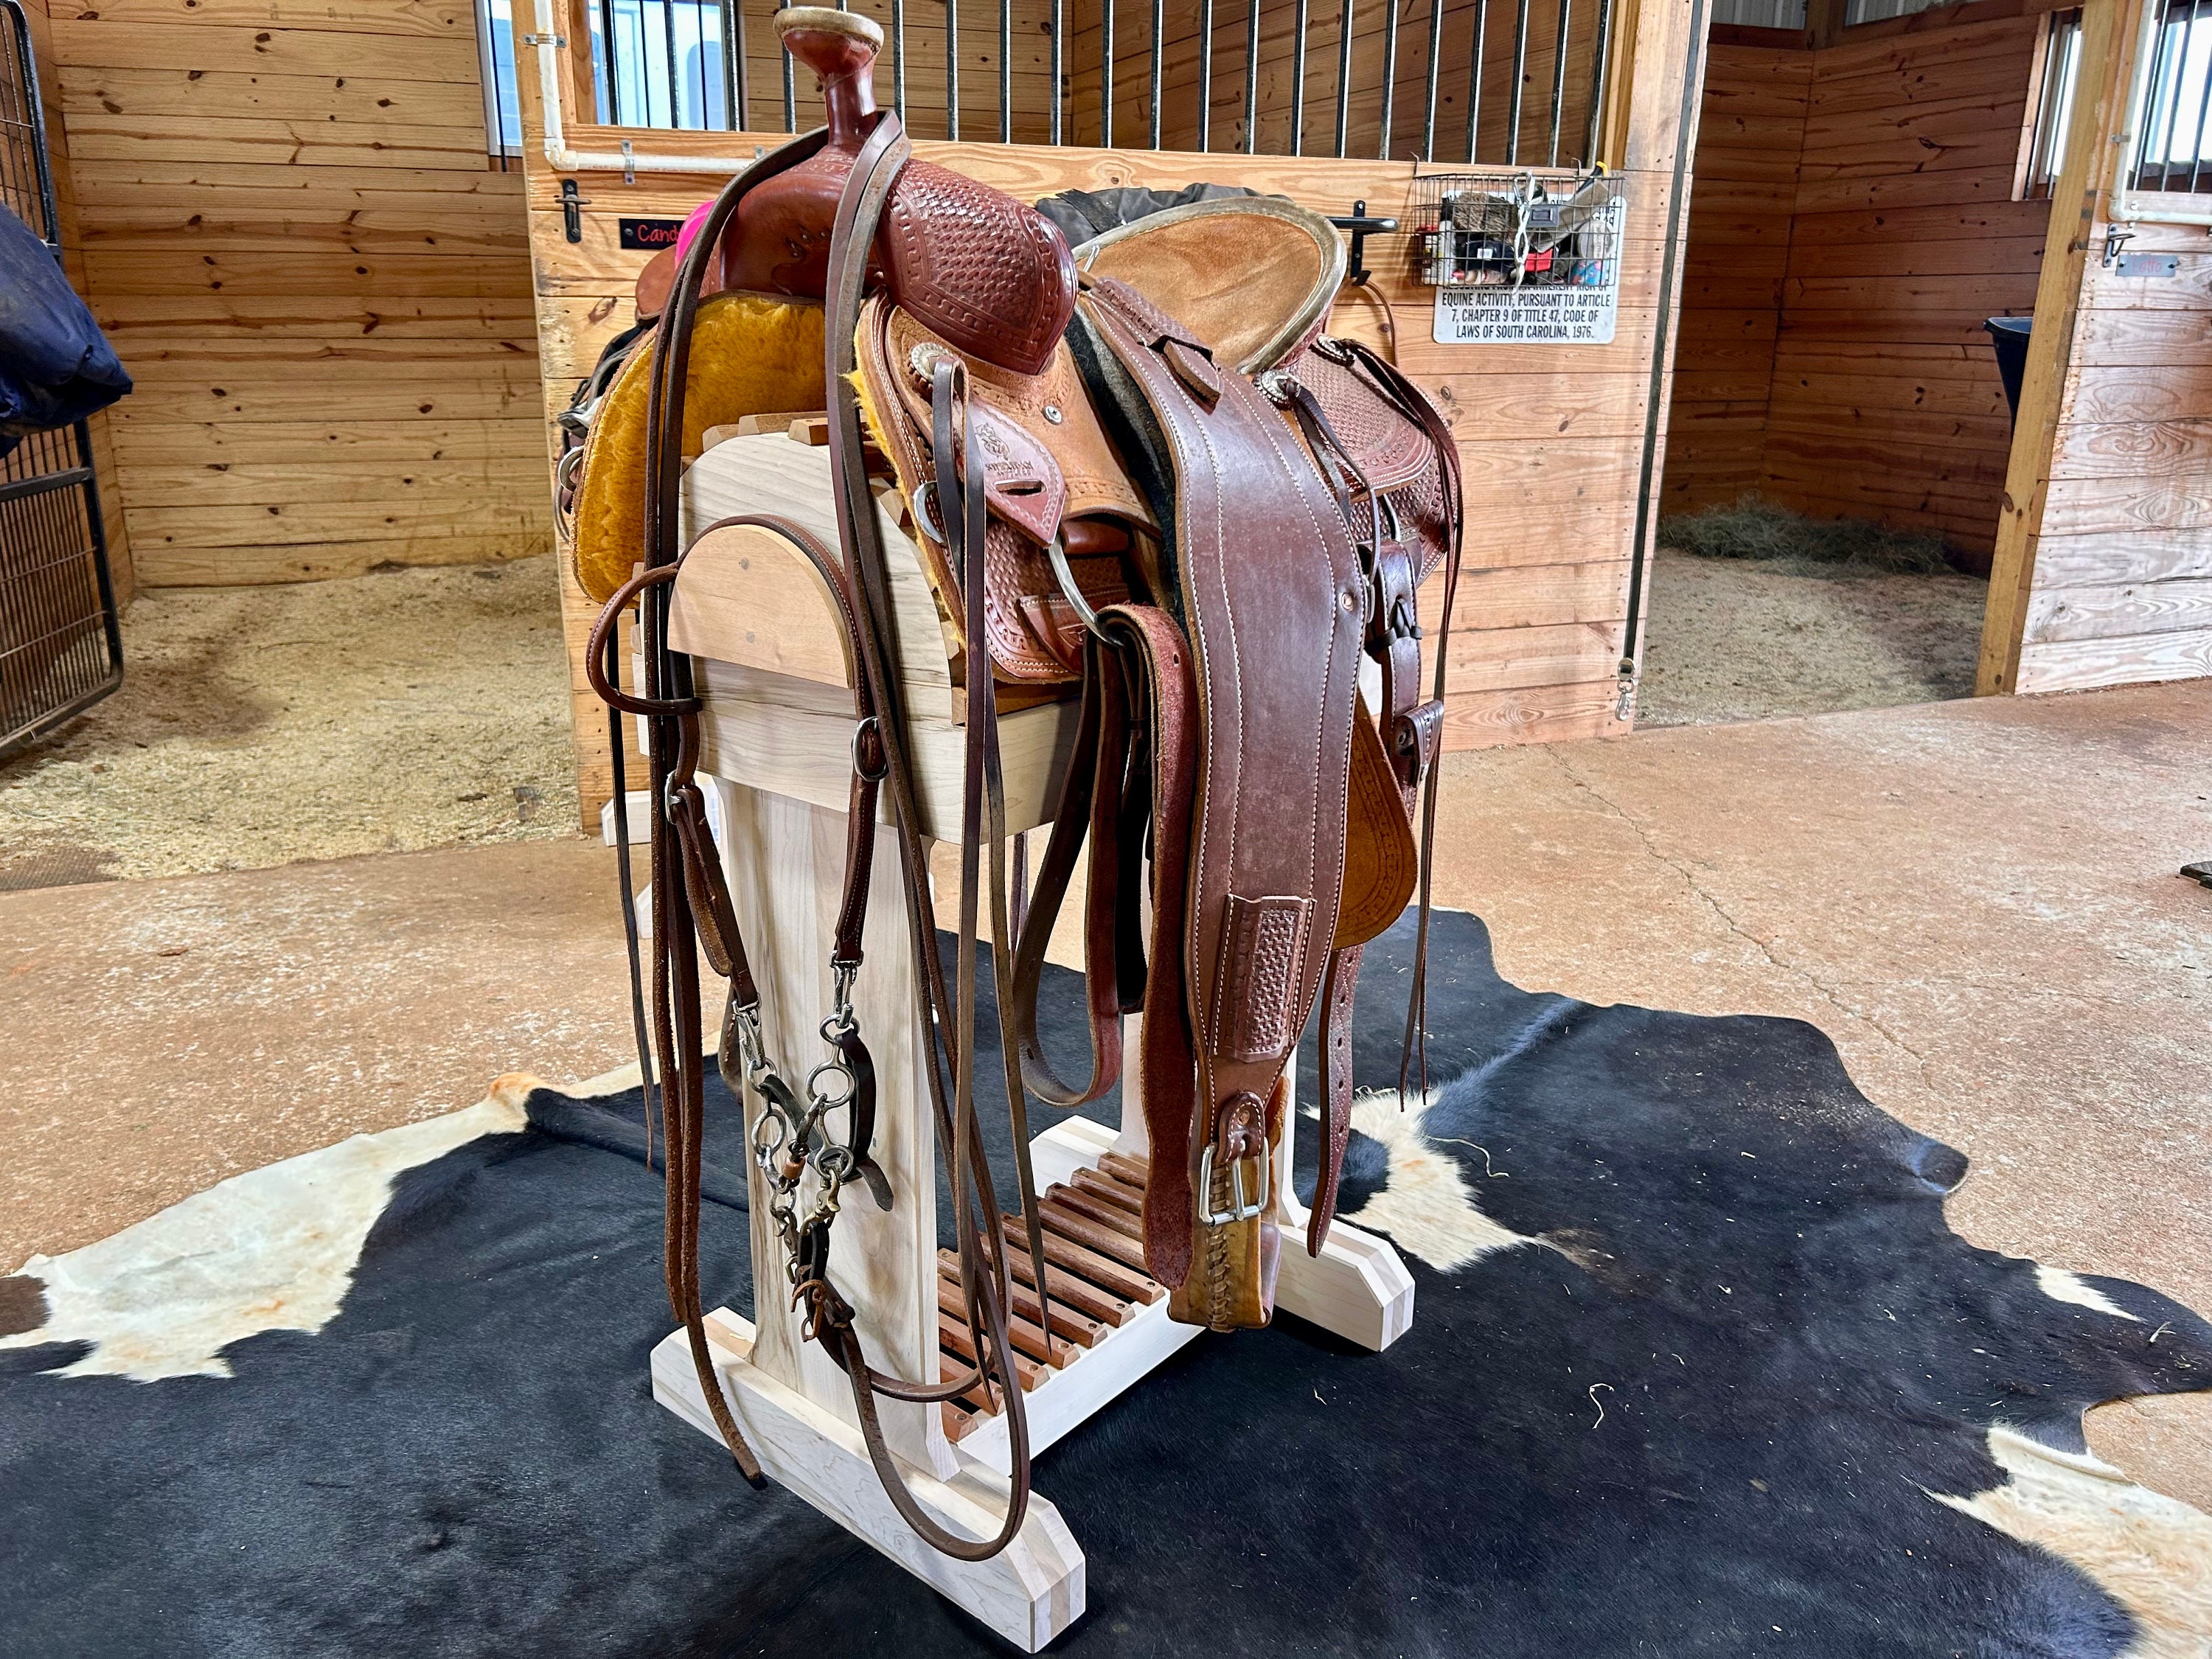
How to Build a 3 Tier Saddle Rack for Your Pets Today?
Share
Owning a pet, especially a horse, brings joy and responsibility. Ensuring that your horse's equipment is organized and easily accessible is a crucial aspect of horse ownership. If youre a health-conscious pet owner looking for practical ways to organize your saddle, you may ask, how to build a 3 tier saddle rack? This guide will not only walk you through the necessary steps but also present the benefits of having a well-structured saddle rack.
By following the process outlined here, you will not only enhance your storage capabilities but also ensure the longevity and health of your saddles. A well-maintained saddle helps safeguard your horse's health, making this project essential for dedicated horse owners.

Why Do You Need a 3 Tier Saddle Rack?
A 3 tier saddle rack is an excellent solution for storing multiple saddles in a compact space. It effectively reduces clutter, making your horse care routine easier and more efficient. Moreover, having dedicated spaces for each saddle ensures that they remain in good condition, free from damage caused by improper storage.
Benefits of a 3 Tier Saddle Rack
Building a saddle rack of this nature offers several benefits:
- Space-Saving: A 3 tier design optimally utilizes vertical space.
- Organization: Keeps saddles easily accessible and organized.
- Preservation: Protects your saddles from the elements and wear and tear.
- Cost-Effective: Makes the best use of materials, saving you money compared to pre-made options.
If you are looking for more information on maintaining your horse's health, check out this useful article on horse care.

Materials Needed for Your 3 Tier Saddle Rack
Before starting your project, gather the following materials:
- Wood Boards: Your choice for structure, ideally cedar or pine.
- Screws: Wood screws for secure assembly.
- Wood Glue: Optional, but recommended for added strength.
- Sandpaper: For smoothing the edges.
- Paint or Sealant: Optional for weatherproofing.
Step-by-Step Guide to Building Your Saddle Rack
Step 1: Plan Your Design
Sketch a simple design for the 3 tier saddle rack. Consider the dimensions based on the saddles you own and the space available.
Step 2: Cutting the Wood
Using a saw, cut your wood boards according to the dimensions decided in your design. Always remember to wear safety gear while doing this.
Step 3: Assemble the Frame
Start assembling the frame of the rack. Begin attaching the vertical pieces for support, securing them with wood screws.
Step 4: Adding the Tiers
Attach the horizontal shelves using the wood screws. Ensure that these are level and sturdy.
Step 5: Sanding
Smooth down the edges and surfaces using sandpaper to prevent injury to yourself and your horse.
Step 6: Finishing Touches
If desired, apply paint or sealant for durability. This will protect the wood from moisture and prolong its lifespan.

Maintaining Your 3 Tier Saddle Rack
Once you've constructed your saddle rack, regular maintenance is key. Keep an eye out for any loose screws, and check the stability of the tiers periodically. A little care can go a long way in ensuring that your investment remains intact.
Additional Tips for Saddle Care
To further enhance the longevity of your saddles, always ensure they are cleaned after each use. Proper saddle care will prevent any buildup of dirt or mold. For more tips on saddle upkeep, consider checking this guide.
FAQs about Building a Saddle Rack
Q1: How much does it cost to build a saddle rack?
The cost can vary based on materials used, but typically ranges from $50 to $150.
Q2: Can I customize my saddle rack?
Absolutely! You can modify dimensions and designs to suit your needs.
Q3: How long does it take to build a saddle rack?
Expect to spend around 2-4 hours, depending on your woodworking skills.
For more horse care tips, be sure to visit this resource.
As an Amazon Associate, I earn from qualifying purchases.
