

How to Build a Saddle Rack: A Step-by-Step Guide for Horse Owners
Building a saddle rack is not only a **practical** solution for **health-conscious** pet owners but also an enjoyable DIY project. Here's a complete guide on how to build a saddle rack that can help you keep your saddle in **great** shape. When taking care of **your horse's** equipment, it's essential to ensure **proper storage** to maintain the longevity of your gear.
Your saddle deserves a dedicated space, and creating a saddle rack will allow you to organize the area while saving time when gearing up for a ride. Let's delve into the details of how to build a saddle rack.
Why Build Your Own Saddle Rack?
There are several advantages to building a saddle rack yourself. Firstly, you can customize the design to fit your particular space and needs. Creativity and functionality are at your fingertips. Secondly, the cost is often much lower than buying a pre-made rack. DIY projects often use materials that are easily accessible, making them cost-effective.
Tools and Materials Required
Before we start, it's essential to gather all necessary tools and materials. Heres what youll need:
- **Wood boards** (2x4s and plywood)
- **Screws** and nails
- **Wood glue**
- **Drill**
- **Saw** (hand saw or power saw)
- **Sandpaper**
- **Measuring tape**
- **L-brackets** for added stability
Understanding the Design
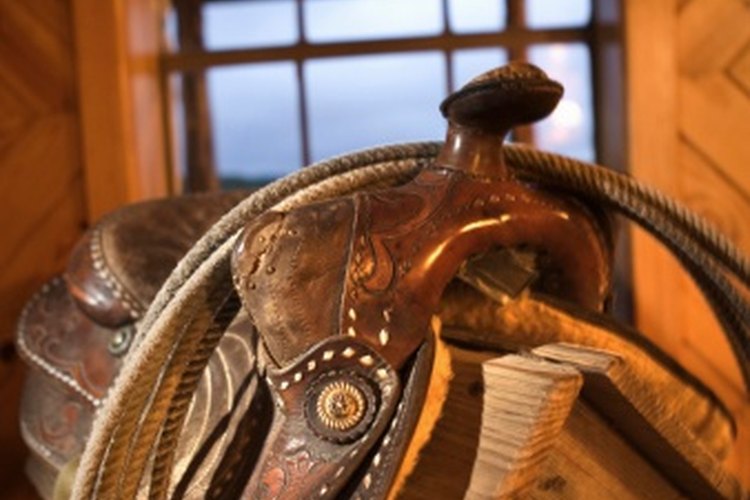
The design of your saddle rack will depend on the type of saddle you own. Western saddles are typically larger and bulkier, while dressage saddles tend to be more streamlined. For more details, check out this post on stirrup leathers.
Measuring and Cutting the Wood
Now that youve gathered your materials, its time to measure and cut the wood. Using your measuring tape, determine the dimensions based on your saddle's size. A common measurement for a saddle rack is approximately four feet in length and two feet in height.
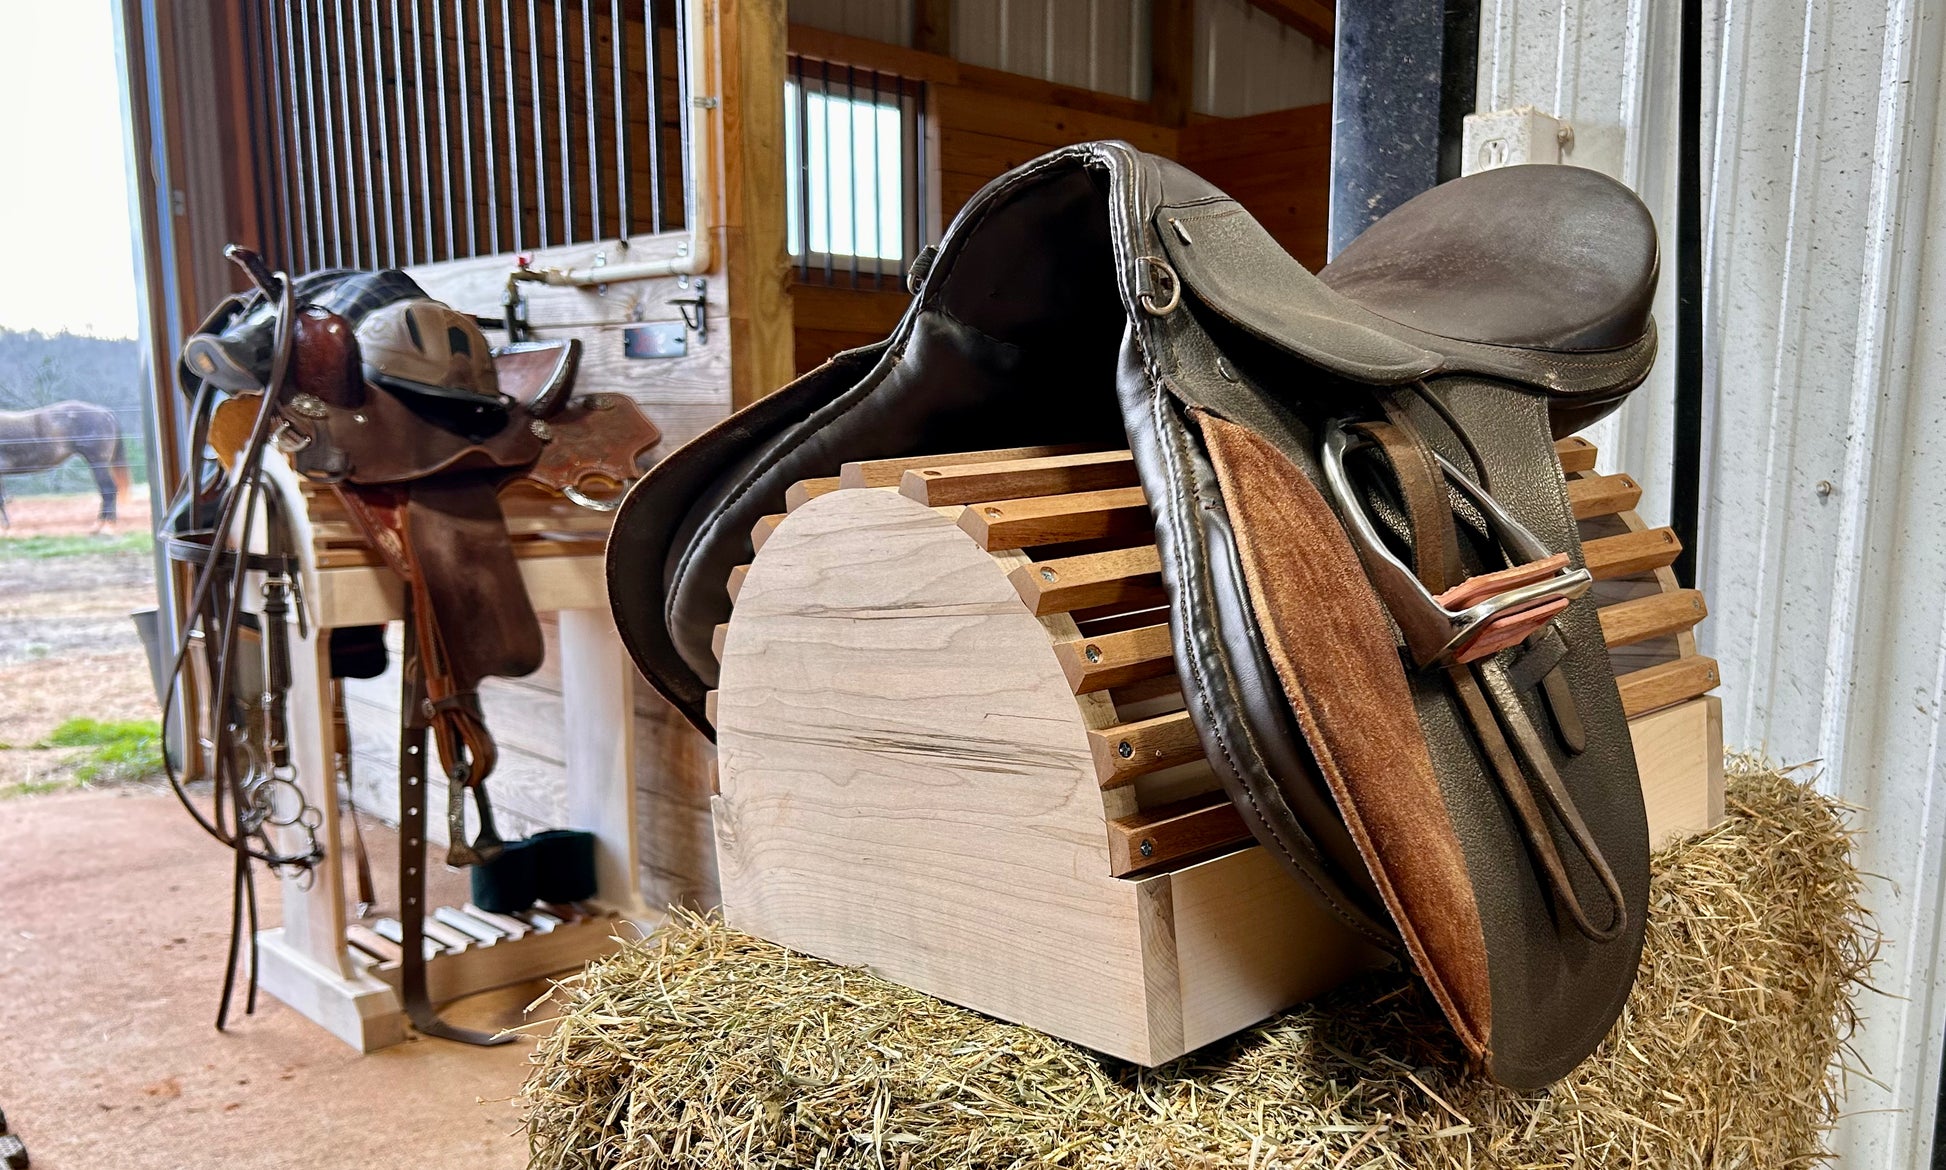
Assembling Your Saddle Rack
Once you have cut your wood pieces, its time to assemble the rack:
- Start with the **base**: Attach two 4-foot pieces parallel to each other as the base of your saddle rack.
- Add vertical supports: Attach 2-foot vertical boards at each end of the base.
- Secure the rack: Use screws and wood glue for a firm hold. L-brackets will add stability.
Finishing Touches
Sand all edges to ensure they are smooth and won't damage your saddle. For added protection, consider applying a wood finish or sealant. This helps to preserve the wood, ensuring it lasts longer.

Maintaining Your Saddle Rack
After building your saddle rack, you want it to stay in great condition. Regularly check for any wobbly parts or signs of wear. Clean the surface periodically to keep it free from dust and saddle debris. If you havent been taking care of your equestrian gear, this post on bathing your horse might offer valuable insights.
Benefits of an Organized Saddle Area
A dedicated area for your saddle helps maintain equine health. Keeping the gear organized ensures you can make informed choices when saddling your horse, reducing the chances of any accidents or gear misplacement during your riding sessions. For more tips regarding horse care, refer to this article on horse breeds.
FAQs About Building a Saddle Rack
What materials are best for making a saddle rack?
Choosing **durable** wood, such as oak or pine, is advisable. These materials provide both strength and stability for holding the weight of the saddle.
Can I build a saddle rack indoors?
Yes, you can build a saddle rack indoors, but ensure you have enough space to work comfortably.
Should I paint my saddle rack?
While painting is optional, adding a layer of paint can enhance aesthetics and provide an additional protective layer against moisture and dust.
By following this guide, you can conveniently build a saddle rack tailored to your needs. Investing time in creating your own equipment storage will ultimately benefit the care of your horse and improve the organization of your gear.
As an Amazon Associate, I earn from qualifying purchases.